
|
|
Using DBdraw is quite easy
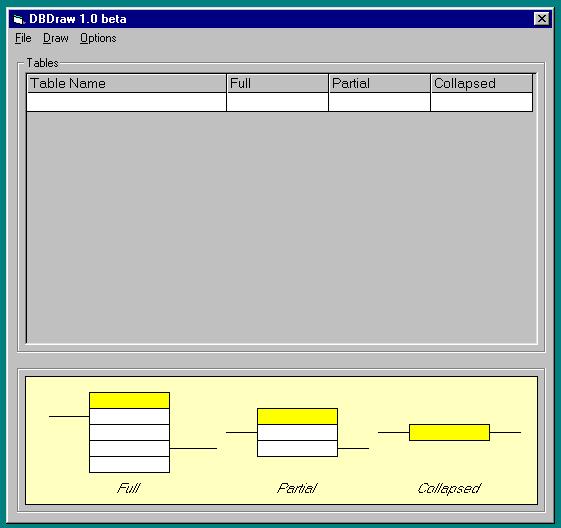
| 1 - Open the DBdraw executable file. A window like the one depicted hereunder will be displayed |
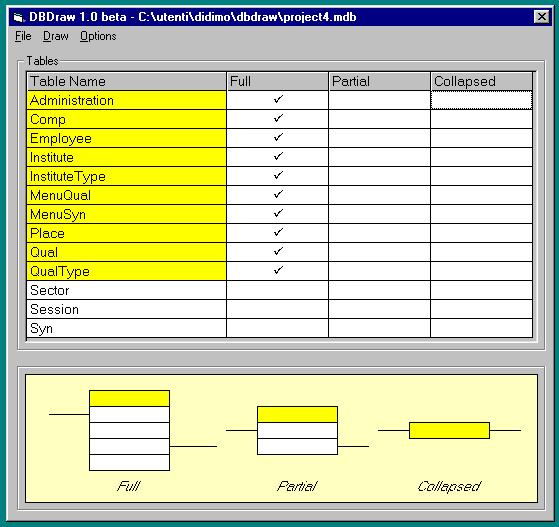
| 2 - Select, using the File menu, a .mdb file containing the schema of the database you want to visualize. In the example the database is called project4. DBDraw shows the list of tables of project4. The emphasized ones (yellow) will be visualized. The white ones will not be visualized. The 1.0 beta version allows to visualize at most 10 tables at the same time. |
| 3 - You may want to change the set of tables that will be visualized. Do it by clicking on the name of the table. For example you may take several snapshots of your database schema by changing, for each snapshot, the set of the visualized tables. |
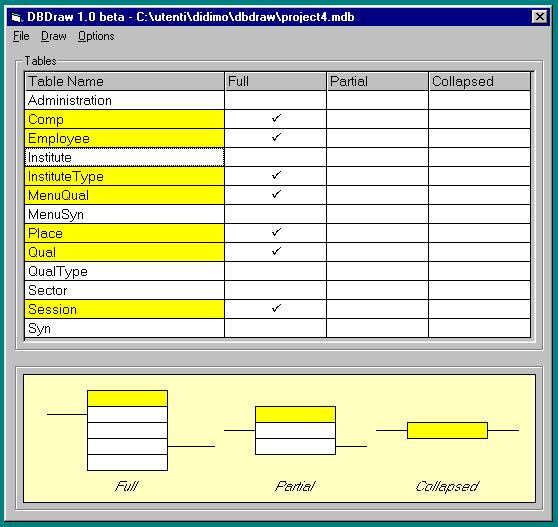
| 4 - For each selected table you can chose three visualization formats: Full, Partial or Collapsed. Full tables are visualized with all their attributes. Collapsed tables are visualized only with their name. Partial tables are visualized together with their attributes that are used in at least one relationship. |
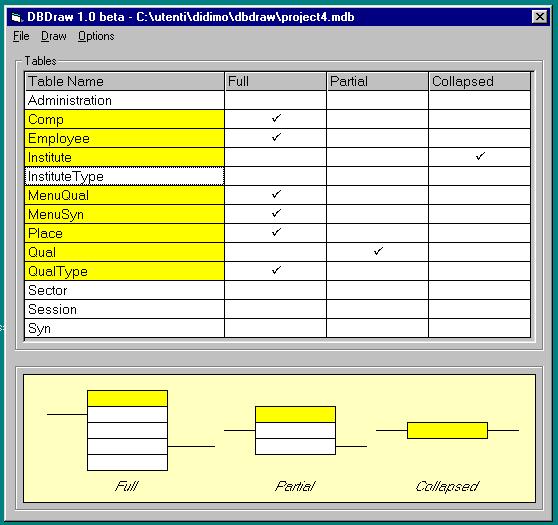
| 5 - Once you have selected a set of tables and have chosen the visualization formats you prefer, simply click on the GenerateDrawing item of the Drawing Menu, specify the directory where you would like to put the drawing, and a name for the drawing (for example, project4draw). The drawing is embedded in a Word documente and saved in Microsoft Word format. The keys of the tables are written with bold characters. To look at a drawing, simply open its file (in our case project4draw.doc). |
