![]()
![]()
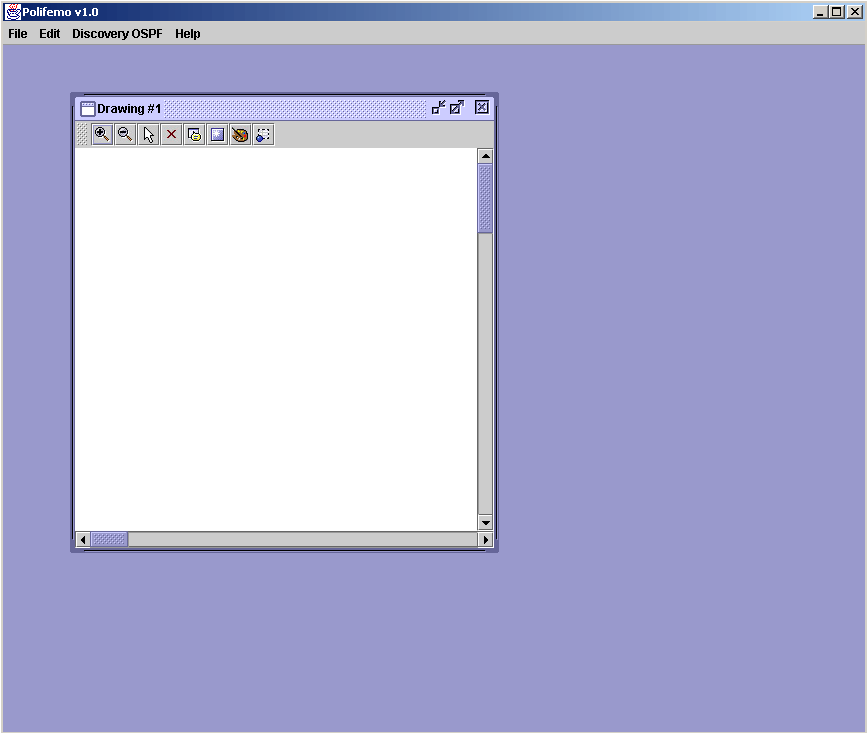
Figure 1. Polyphemus just started.
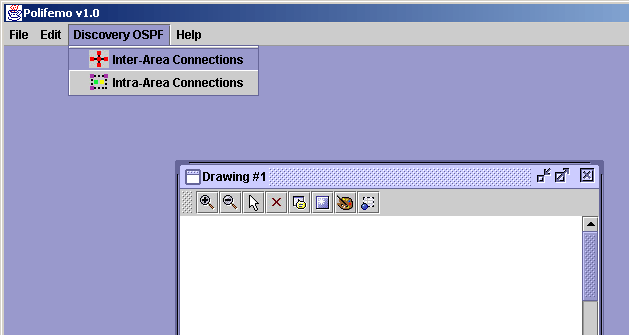
Figure 2. The Discovery Menu that allows to start an OSPF discovery.
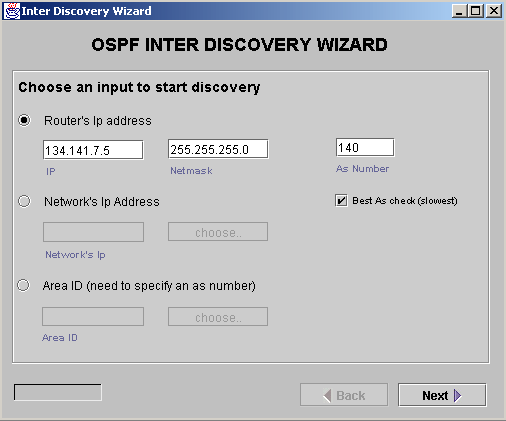
Figure 3. The Discovery Wizard guides you through the exploration process. In this panel you can specify the starting point for the exploration.
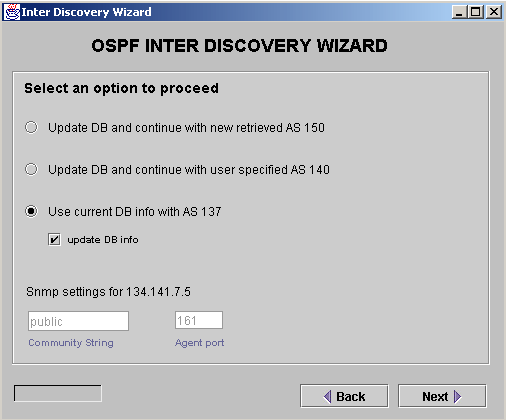
Figure 4. Choose the AS number that identifies the discovery and choose the SNMP community.
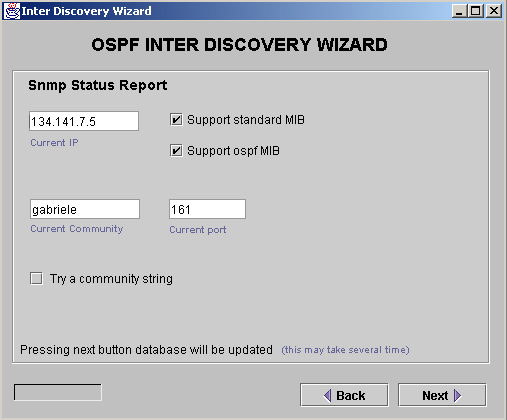
Figure 5. If you do not get access with the above specified community you can change it here.
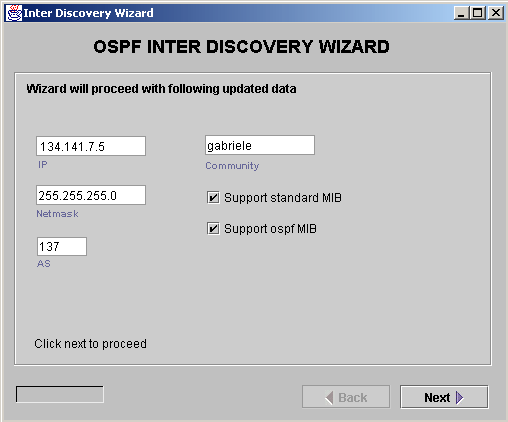
Figure 6. Summary panel. Such information has just been checked.

Figure 7. Choose whether use local previously recorded data or really perform a new exploration.

Figure 8. Panel showing the retrieved Area Border Routers (ABRs). You can specify the SNMP community names also for the newly discovered routers.
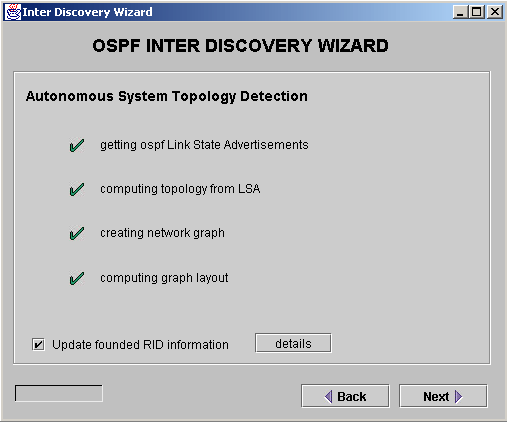
Figure 9. The system automatically performs the remaining steps for exploring and preparing visual maps of the OSPF network.
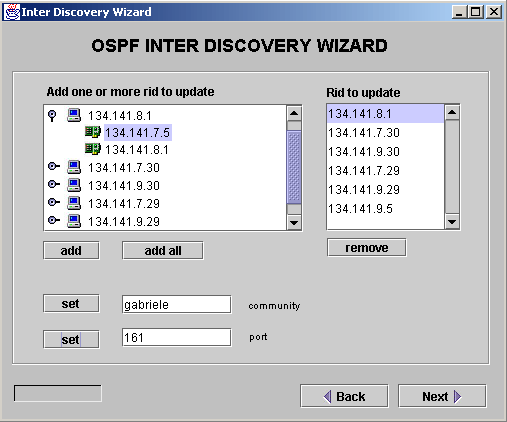
Figure 10. All AS routers are shown here, some of them may not have proper community name associated for updating general information about them.
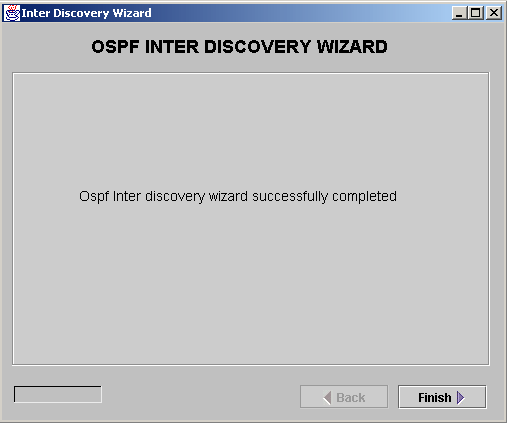
Figure 11. End panel.
This session continues by visualizing the maps of the OSPF network just explored. See Gallery 2 : a complete exploration-visualization with Polyphemus - part 2/2 (visualizing the maps and the data)